Showing posts with label 2 colors. Show all posts

Sunday, September 30, 2012

"A Night Out" Nail Tutorial


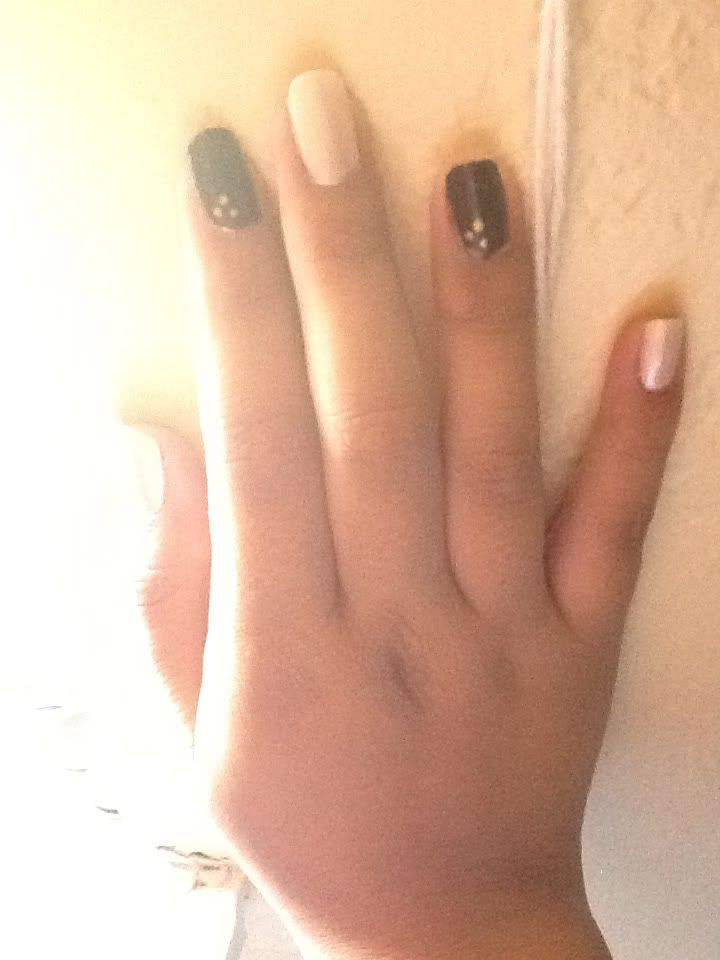
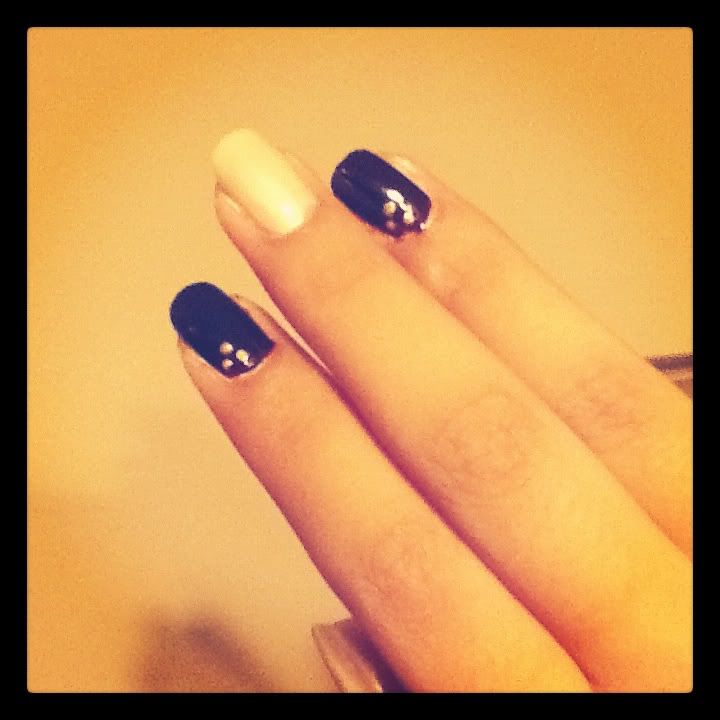
Hi everyone! I'm back with another nail tutorial. This time, I ditched the pastel colors and went for more elegant looking colors. This nail design reminds me of a night out with the purple and pearl color complimented with gold jewel looking dots.


Products used:


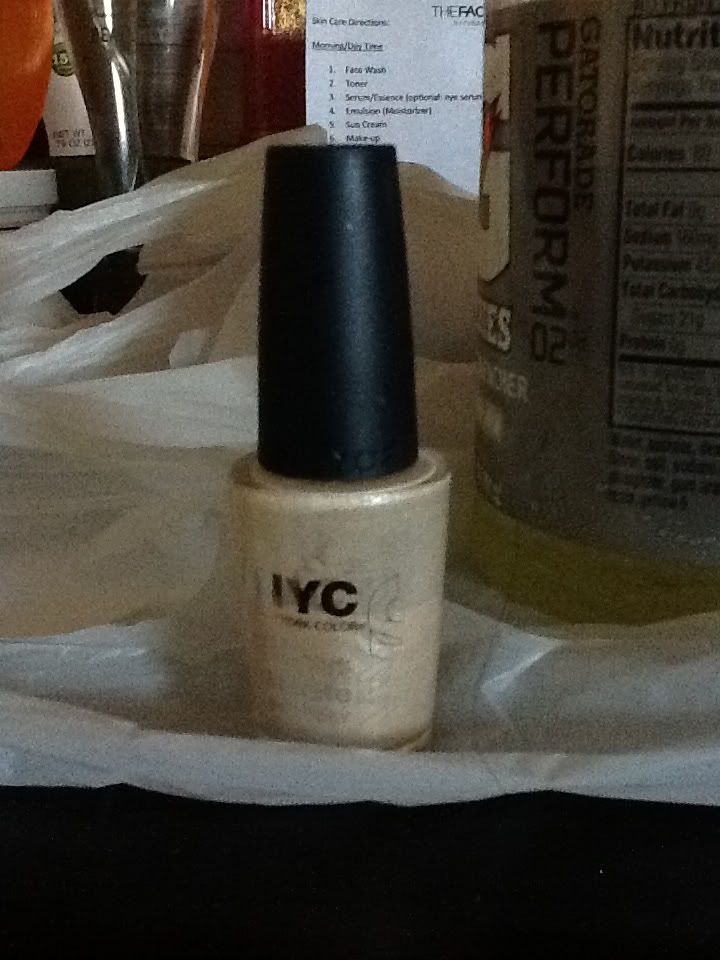
NYC ____
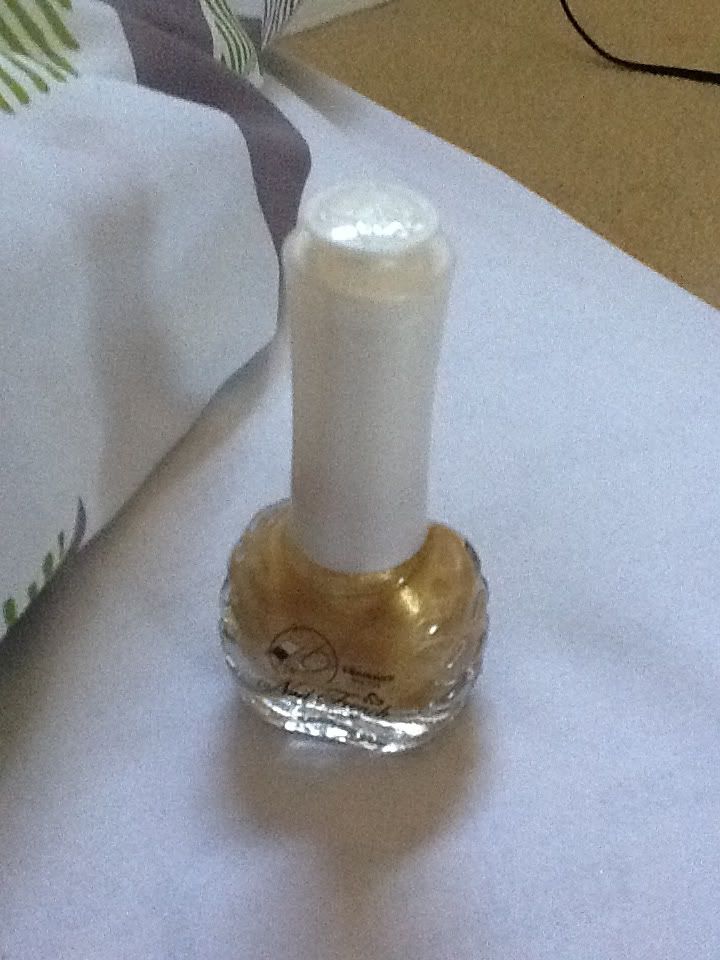
Gold Daiso Nail Polish
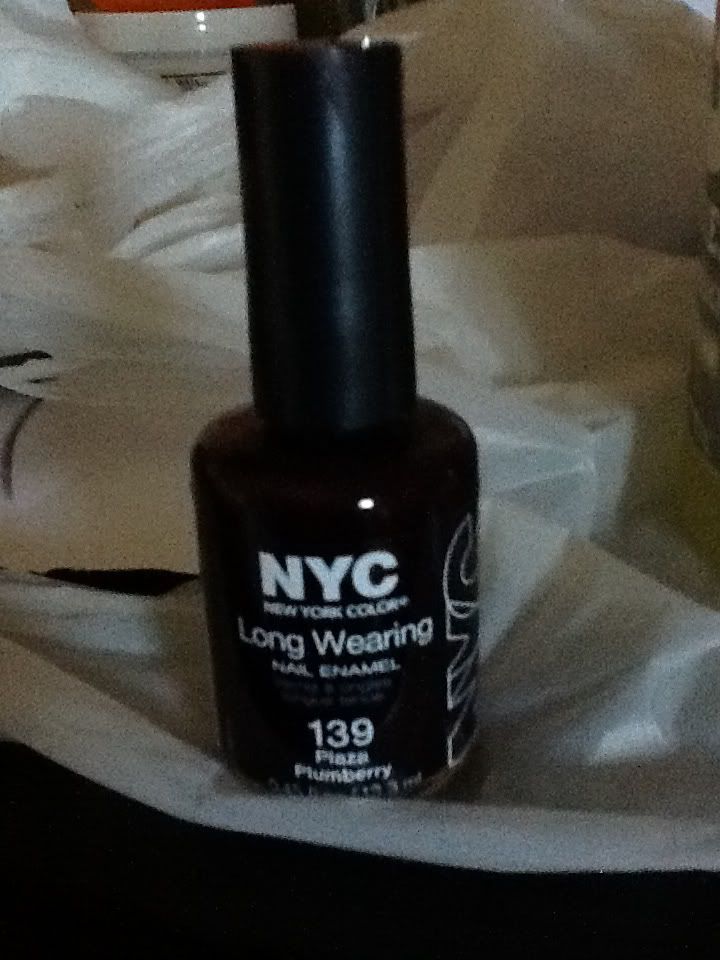
NYC Plaza Plumberry

Materials Needed:
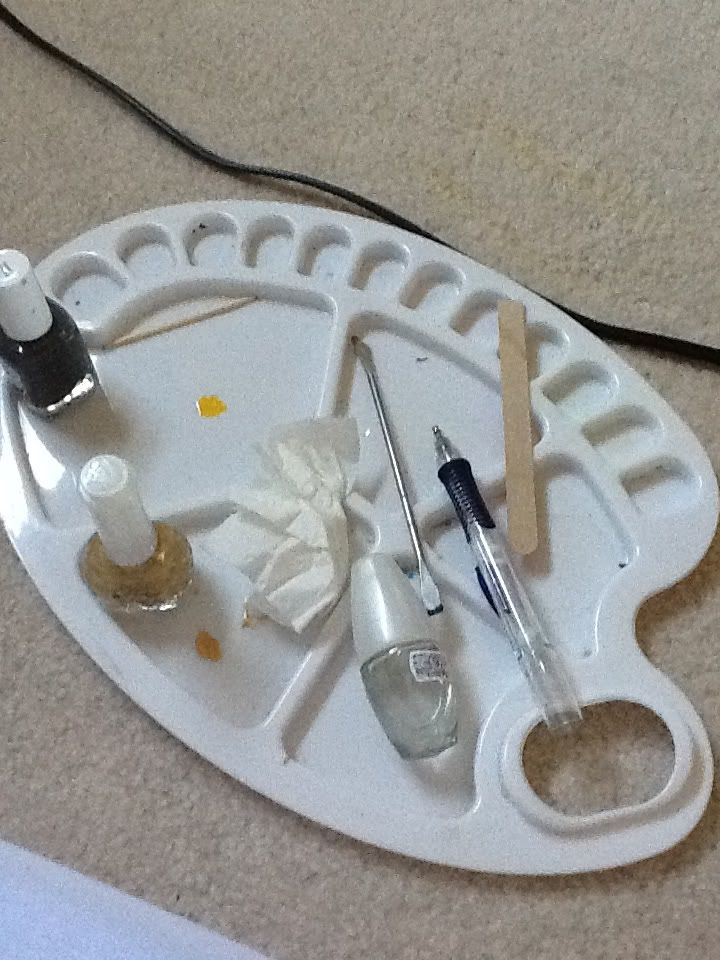
Paint Pallet
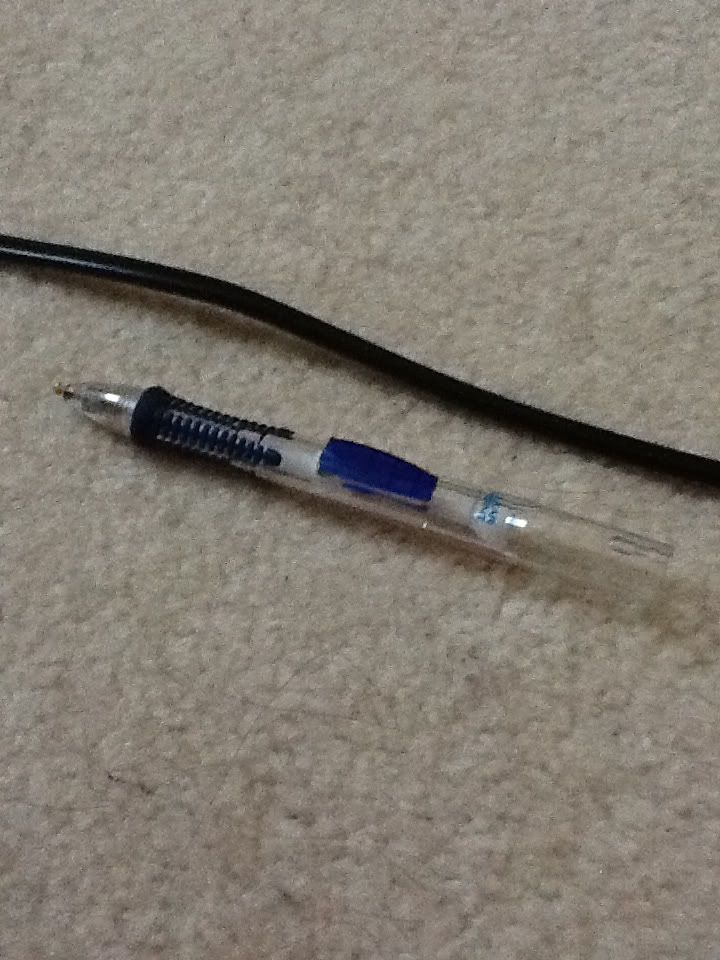
Mechanical Pencil
Steps:
  1. Paint 3 nails with the beige Pearl color (your choice)
  2. Paint the other 3 nails with the Plum color (your choice)
  3. Put top coat on all nails
  4. Put a decent amount of gold in the plastic pallet
  5. Take your dotting tool and dot 3 gold dots on the bottom corner of your plum nails, in a triangle pattern (shown in the picture)
  6. Put top coat on nails you applied the dots
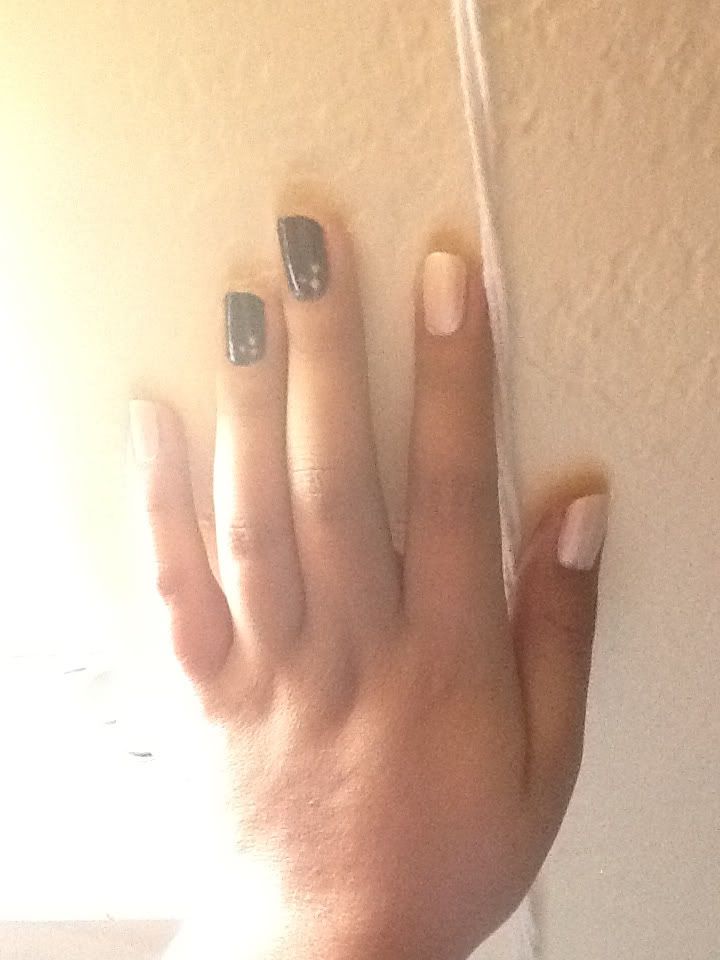
Left Hand
Right Hand
Thank you for reading and I hope you guys try it yourself! (=

Comment down below for more nail tutorials!
& share with others! (=

Find me here:
instagram- melissaosia
twitter- mkobeauty

Tuesday, September 18, 2012

Blue and Yellow Polka Dot Nails | DIY Dotting Tool

Did you guys ever wanted to do something else with your nails other than plain coloring but don't have the tools to create designs?

Well, I'm here to tell you how to create your own dotting tool for this look!

Things you'll need:
  • 2 different colored nail polish that compliments each other. 
  • Mechanical pencil (not pictured)
Steps:
  1. Paint 4 fingers (your choice) with 1 color.
    *Remember, depending on the quality of the nail polish, coats vary*
  2. Paint 1 finger (your choice) with the 2nd color. 
  3. Apply top coat on all fingers
  4. I like to apply top coat even on the nail I am going to design so it protects what you already did.
  5. Get a plastic type of plate (not pictured) and put a dab of the color you want to create the dots with on the plate.
  6. Take your mechanical pencil and swirl it in the color
  7. Slightly and carefully dot your nail in a diagonal way for an even spacing
YOU'RE DONE! It's very simple but I hope you enjoyed this DIY-ish dotting tool for those who don't want to buy one. Remember dot size depends on the size of the pencil and amount of nail polish you dabbed.

Products used:
TFS Color BL60
TFS Color YL702
Copyright © 2014 The Moments I Live For

Distributed By Blogger Templates | Designed By Darmowe dodatki na blogi